
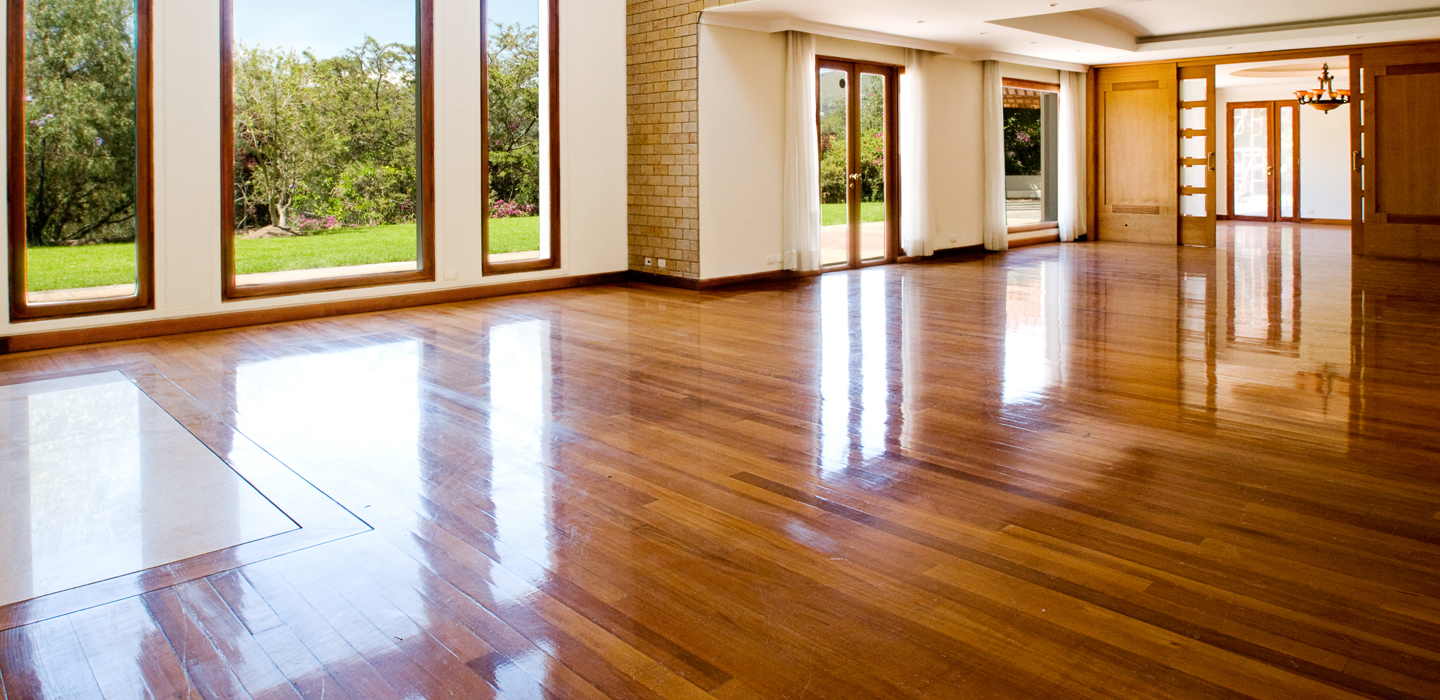
Process Of Floor Sanding And Polishing
Several steps must be taken before beginning the project if you want to restore or refinish your floors. First, you should prepare the room for floor sanding and polishing by removing baseboards and furniture from the room. Then, ensure enough ventilation in the room so dust particles don’t get trapped under your machines or fall on anyone else working around them. You also want to ensure enough time for this project since it can take several hours or even days, depending on how much damage needs repair work done on your floors!
Before starting a floor sanding and polishing job, ensure you have the right equipment and adequate space to store your machines.
- A good dust mask is essential when working on floors. You should protect yourself from harmful particles while sanding or even during other jobs where dust may be present. This can help prevent respiratory issues such as asthma or allergies in some people who might be sensitive to them. The mask should fit correctly around your face so that it covers the nose and mouth comfortably without causing any discomfort during use. It should also cover all areas around their eyes, so they don’t accidentally get a contact lens stuck there!
- You’ll need an appropriate amount of space for each machine’s operation and storage space after use when not in use, indoors at home or at work sites where there are few rules about the room needed.
If you are going to do the job yourself, get as much of the preparation done as possible, including removing baseboards and furniture from the room.
Ventilation
Make sure there is enough ventilation in the room.
Ventilation is important to ensure your health and safety, as well as that of others who may be present. You should always wear a respirator mask when the floor sanding or polishes wood surfaces to prevent breathing in dust particles.
Time-Effective
Ensure you have enough time to complete the job, especially if you plan to stain your floor. Staining is a time-consuming process that can take several days or even weeks before it’s finished. Once it’s dry, some stains require additional steps like sealing and buffing before they’re ready for use.
You’ll also want to ensure enough space in your home for drying racks and other equipment associated with staining floors. Avoid painting over old tile flooring with new tile; this could cause discolouration problems later on down the line when applying a sealant over the top of existing paint jobs.
Clean-up the Dust
- Use a shop vac to remove the dust.
- Use a dust mask and tack cloth to wipe down the floor.
- Vacuum up any loose particles left behind by the last step, but don’t forget about those little bits of sandpaper! If you can’t see them, they’re still there; they’ll need to be dealt with later in this process.
- Dampen your shop towels with water so you can use them again after treating your flooring surfaces as described above.
After sanding, buffing and polishing your floors, use a vacuum to remove any remaining dust particles.
Sealant
In addition to the floor sanding and polishing, you should apply two coats of sealant. The first coat should be applied immediately after you finish sanding, while the second can wait until a day or so later
You’ll want to use a high-quality sealant that will protect your floors from damage in the future. This is important because when you’re finished with your project, any remaining dust on your floor will make it difficult for people to clean up without damaging them further.
To Conclude
- Make sure you have adequate space to store your machines.
- Get as much preparation as possible, including removing baseboards and furniture from the room.
- Ensure enough ventilation in the room so that dust doesn’t build up and cause problems for you later on down the line.
- Make sure you have enough time to complete your project without rushing through it!


